
Whether you are a greenhorn or a seasoned WordPress webmaster, tweaking the backend theme would be on your nearest agenda.
For all intents and purposes, WordPress is a CMS most revered for its superb flexibility. The WordPress website owners keep on finding new ways to customize their website's front end in order to cater to the changing market dynamics and audience's sensibilities. But the backend of any website is what should suit the sensibilities of the admin.
For what it's worth, your WordPress may have the best design and the most awesome content, but if its admin panel is complicated, you may not be so motivated to play around its features much too often. So, to make things simpler for you and to let you spread your wings a little more, we share some customization tips that can make your WordPress site's backend far more attuned to your taste:
Changing the Whole Appearance of the Theme
Let's start by giving tips on how you can jazz up the WordPress theme's dashboard in a way that that it doesn't look monotonous to the eyes.
We can have a separate stylesheet for your theme, and for the same, add the following code to your theme's functions.php file
function custom_admin_style() {
echo ' rel="stylesheet" type="text/css" href="'.get_stylesheet_directory_uri().'/admin_theme_style.css">';
}
add_action('admin_head', 'custom_admin_style'); //hooked the "custom_admin_style()" function to "admin_head".
We have created a function called “custom_admin_style()”, in that particular we have just write add stylesheet code.
“add_action” is the default wordpress function which is used to hooks a function on to a specific action.
“admin_head” is an action event and can be hooked by add_action hook.
Create a stylesheet file(admin_theme_style.css) inside your theme folder. Here you can write the style relates to our wordpress admin HTML elements.
The WordPress Login URL
Now, the default login URL of standard WordPress website is www.xyz.com/wp-admin or www.xyz.com/wp-login. Now, not everyone finds it too easy to remember and thus you can change it to something you don't have to memorize or something that has your brand name right in the URL itself.
For the same, you need to tweak the .htaccess file of your WordPress theme. You need to head to the root of your WordPress installation and this file may be lying hidden in there. Once you locate the file, open it and add the following line right on top:
RewriteRule ^login$ http://xyz.com/wp-login.php [NC,L]
Replace the login word with the word of your choice and your site's URL. That's it. You have a login URL you always wanted.
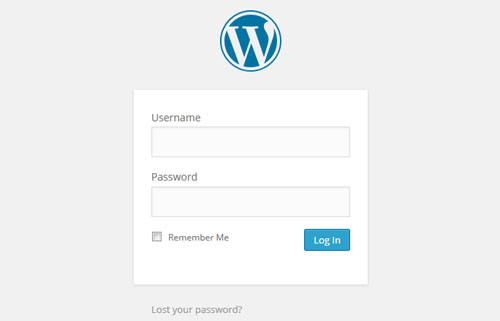
Change the Logo on the Login Screen
To state the obvious, your logo is your brand's face. So, it only makes sense that you have it at just about every place that serves as a gateway to your website – even at the login screen. The default login screen looks like this:
So, in order to add your logo to the login screen, you can add the following lines into your theme's functions.php file:
// Custom WordPress Login Logo
function login_css() {
wp_enqueue_style( 'login_css', get_template_directory_uri() . '/css/login.css' );
}
add_action('login_head', 'login_css');
The third line in the code brings into the picture a separate stylesheet.
Alter the Footer of the Admin Panel
Again, the WordPress site's admin panel has a footer that links directly to WordPress.org. Now, when your website is representing a business, you surely would want a link to something that is related to your brand.
For the same, we again need to make some tweaks to the functions.php file. You can find it at Appearance>Editor.
One you have the file with you, add this code:
// Custom WordPress Footer
function remove_footer_admin () {
echo 'The website is a copyright of XYZ Motors, 2015';
}
add_filter('admin_footer_text', 'remove_footer_admin');
You can include content of your choice inside the echo.
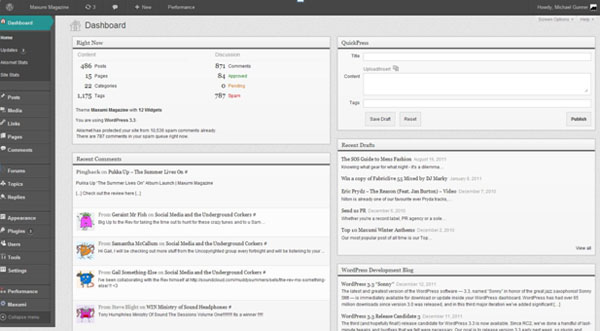
Adding Custom Summary Boxes to the Dashboard
While there are a number of summary boxes in any WordPress theme, there are always instances when you need to have more data on the dashboard for you to have an insightful idea about your website.
Again, you will head to the functions.php file of your theme and make add the following code to it:
// Function for outputting the dashboard widget content
function dashboard_widget_function( $post, $callback_args ) {
echo “Hi, this is the custom widget!”;
}
// Function used in the action hook
function add_dashboard_widgets() {
wp_add_dashboard_widget(‘dashboard_widget', ‘Example Dashboard Widget', ‘dashboard_widget_function');
}
// Register the new dashboard widget with the ‘wp_dashboard_setup' action
add_action(‘wp_dashboard_setup', ‘add_dashboard_widgets' );
The first step displays the text defined in the echo. The second section labels the widget. And then, we register the widget with wp-dashboard-setup that eventually finalizes our widget.
A WordPress theme's backend can thus be changed in a several number of ways, depending on how you wish to align it with your suitability.


GIPHY App Key not set. Please check settings